 ⭐ Featured
Pav Bhaji
Mumbai's beloved mashed vegetable curry served on butter-toasted soft buns — street food gold.
Crispy salty diamond-shaped fried crackers — the Diwali snack staple of Bihar
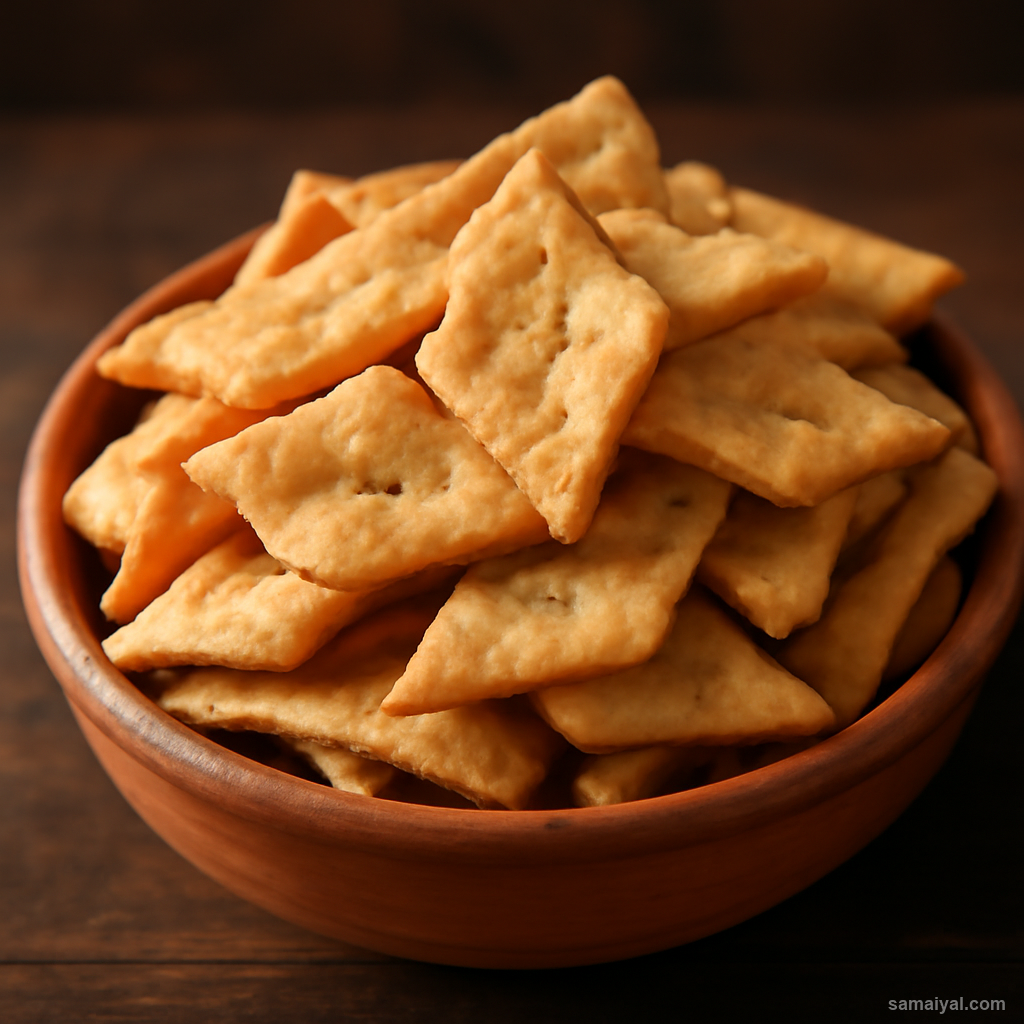
About Bihari Nimki: Nimki is the crispy salty cracker of Bihar — diamond-shaped pieces of fried maida dough flavoured with cumin, ajwain and black pepper. Made in every Bihar home for Diwali (and Holi, weddings and major pujas), they keep for weeks in airtight tins and are gifted to neighbours and relatives. They are the perfect tea-time snack — crispy, salty, faintly spicy.
Use fresh maida: Use 2 cups of all-purpose flour (maida). The flour should smell clean and neutral. Old or damp flour produces tough, oily nimki.
Understand the spice mix: Bihari nimki uses three spices that work together — cumin seeds (warm earthiness), ajwain or carom seeds (thymol-like sharpness that aids digestion of fried foods), and crushed black pepper (gentle heat). These three together are the signature.
Lightly crush the spices: Take 1 tsp cumin seeds, 1/2 tsp ajwain (carom seeds), and 1/2 tsp black peppercorns. Crush together lightly in a mortar — just to break them open and release aroma, not to powder them. The whole-but-cracked spice pieces in the dough are part of the texture.
Mix the dry ingredients: In a wide bowl combine the 2 cups maida, the crushed spice mix, and salt to taste — about 3/4 tsp.
Add the ghee: Add 2 tbsp ghee to the dry mix. Use cold or just-melted ghee, not hot. The ghee provides the flakiness — adequate ghee in the dough is what produces crisp nimki, not chewy ones.
Rub the ghee in: With your fingertips, rub the ghee into the flour mixture. Use a pinching, lifting motion as if making pastry. Continue for 2-3 minutes until the mixture looks like coarse breadcrumbs and clumps slightly when squeezed in a fist.
Add water gradually: Pour 1/4 cup warm water over the mixture. Mix with a fork at first, then your fingers. Add 1-2 tbsp more water as needed.
Knead a stiff dough: Knead for 4-5 minutes into a very stiff smooth dough — much firmer than chapati or roti dough. Stiff dough is essential for crispy nimki; soft dough produces puffy bread instead. The dough should not stick to your hands and should feel slightly resistant to pressing.
Rest the dough: Cover with a damp cloth and rest for 20 minutes. Resting relaxes the gluten and allows the spices to flavour the dough fully.
Divide and shape: Divide the rested dough into 4 equal portions. Roll each portion between your palms into a smooth ball. Keep three under the damp cloth as you work with one.
Roll thin: Lightly flour a clean work surface. Press one ball flat. Use a rolling pin to roll into a large thin circle, about 25cm wide and 2-3mm thick. Aim for thinner rather than thicker — thinner produces crisper nimki. The dough may resist; if so, pause for a minute and continue.
Cut diamond shapes: Use a sharp knife or pizza cutter. Make parallel cuts down the rolled dough about 4cm apart. Now make diagonal cuts across at the same spacing. You will get diamond shapes. Some end pieces will be triangles; that is fine.
Prick the diamonds (essential): Use a fork to prick each diamond piece 4-5 times. The pricking prevents the nimki from puffing up like puris during frying — instead they stay flat and crispy. Skip this step and you will get bubbled, hollow puris instead of nimki.
Heat the oil correctly: Pour neutral oil into a deep heavy pan to a depth of at least 5cm. Place over medium-low heat. The oil for nimki should be cooler than for puris — slow frying produces crispy nimki, fast frying produces undercooked puffy ones. Test with a small piece of dough: it should sink, then rise within 8-10 seconds with a few small bubbles around it.
Fry slowly: Add 6-8 nimki pieces at a time — do not crowd. Fry on medium-low heat for 4-5 minutes per batch, turning gently with a slotted spoon. They should fry to a uniform pale golden colour — not deep brown. The slow frying is what creates the crisp throughout texture.
Drain on wire rack: Lift out with a slotted spoon and drain on a wire rack. The wire rack lets air circulate underneath, keeping the nimki crisp.
Cool completely before storing: Spread the fried nimki on a tray or large plate to cool to room temperature. They will continue crisping as they cool. Once fully cool — about 30 minutes — pack into an airtight tin or glass jar. Stored at room temperature in a dry place, they keep for 3-4 weeks. Avoid the fridge — humidity makes them soft and chewy.
⭐ Featured
Mumbai's beloved mashed vegetable curry served on butter-toasted soft buns — street food gold.
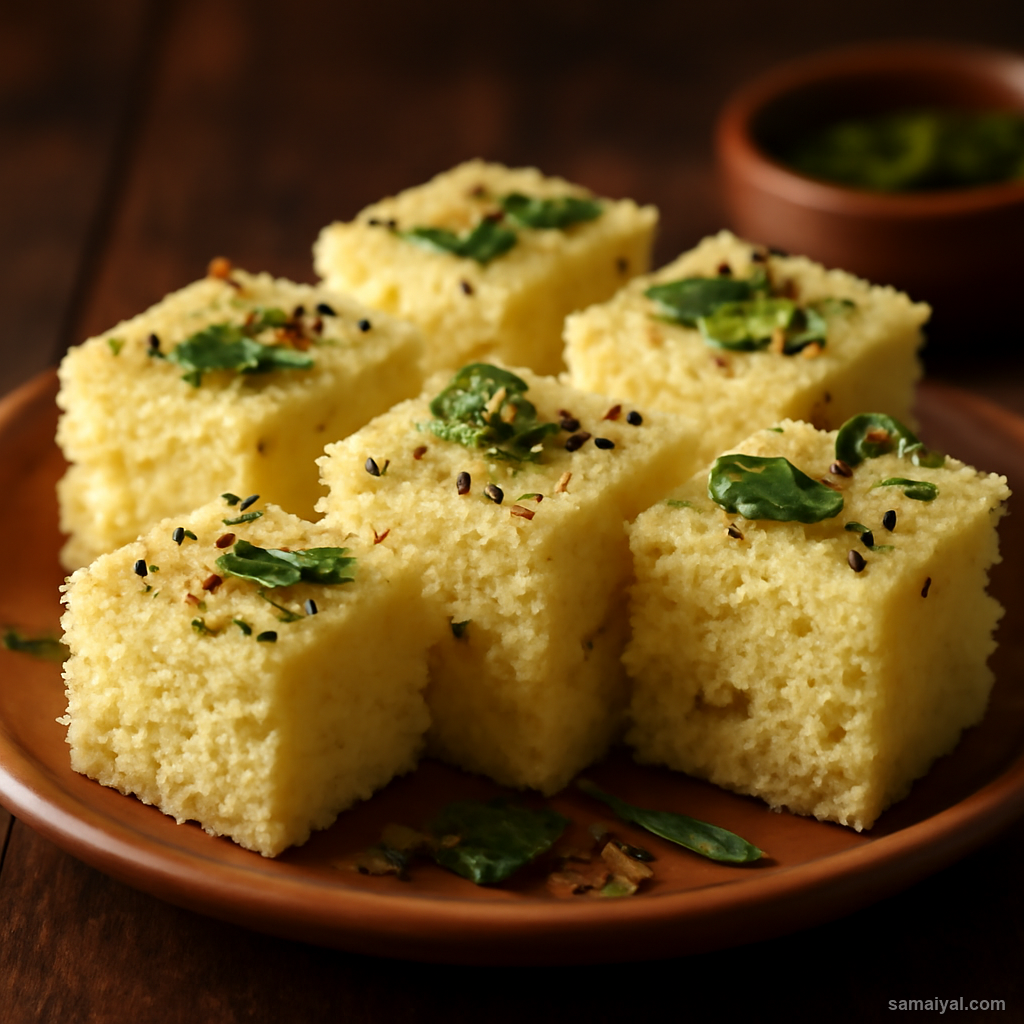
Fluffy steamed chickpea flour cake from Gujarat — light, spongy, tangy and totally addictive.

Mumbai's vegetarian burger — spiced potato dumpling in a fried batter, served in a...
 ⭐ Featured
Crispy golden pastry filled with spiced potatoes and peas — India's most loved snack,...
Comments & Tips
Be the first to share your experience with this recipe!
Leave a Comment