 ⭐ Featured
Pav Bhaji
Mumbai's beloved mashed vegetable curry served on butter-toasted soft buns — street food gold.
Sliced fresh ginger marinated in lemon juice and chilli — the digestive condiment of Arunachali meals
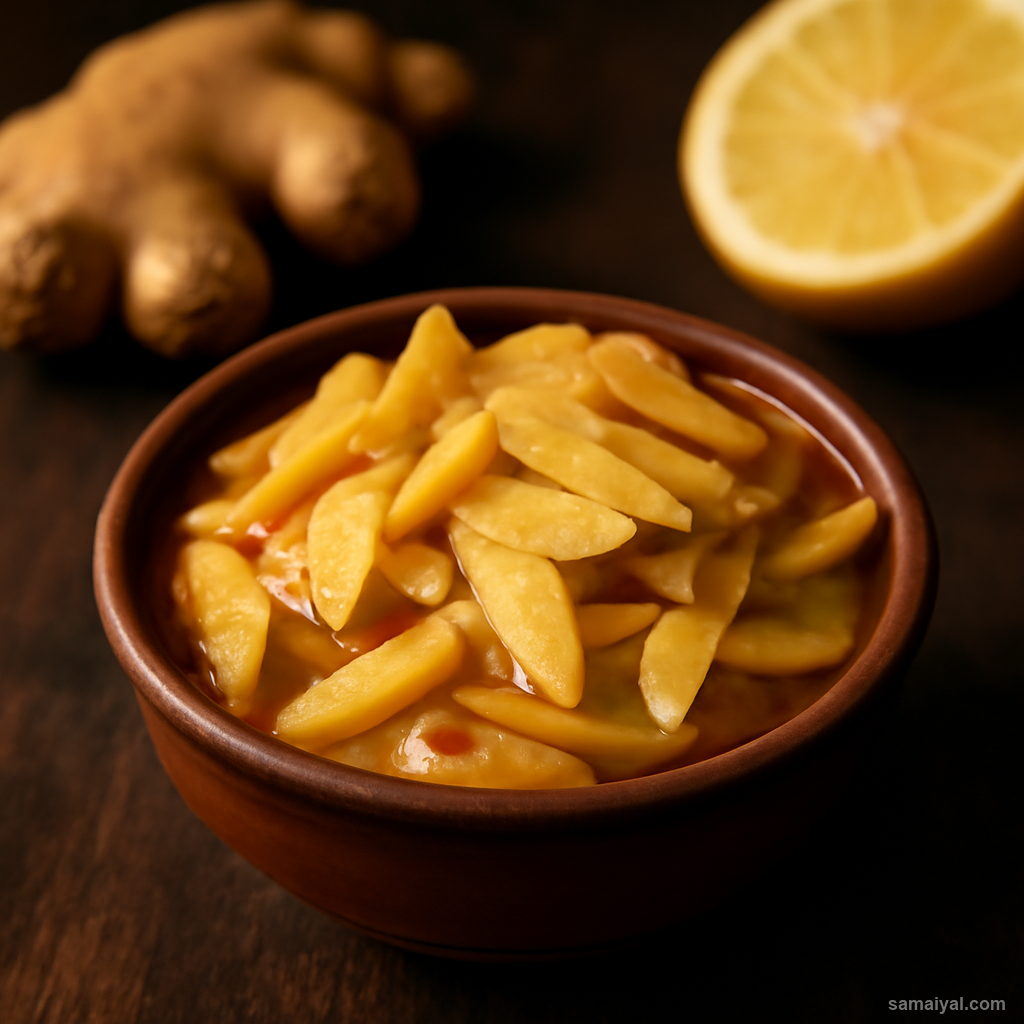
About Fresh Ginger Pickle: This sliced ginger pickle is served at every Arunachali meal as a digestive and palate cleanser. Young ginger — the fresh pinkish-cream root with thin skin and a mild fragrant heat — is what makes this pickle special. Older fibrous ginger is too hot and stringy.
Find the right ginger: Look for young ginger at Asian or Indian groceries. It has paper-thin pinkish skin, smooth firm flesh, and snaps cleanly when broken. If you can only find mature ginger, it will still work but the result will be hotter and woodier — soak the slices in cold water for 30 minutes first to soften the heat.
Clean the ginger: Take 200g young ginger. Wash thoroughly under cold running water. Use a vegetable brush to scrub away any soil clinging to the knobs.
Peel the ginger: Young ginger barely needs peeling — just rub the skin off with the back of a teaspoon (this preserves more flavour than peeling with a knife). For mature ginger, use a peeler.
Slice paper-thin: Use a sharp knife or a mandoline to slice the ginger into very thin rounds — about 1mm thick. The thinner the slices, the better the pickle absorbs the marinade. Slice across the grain (perpendicular to the long axis of the root) to minimise stringiness.
Prep chillies and lemons: Slice 2 green chillies into thin rings. Squeeze the juice from 2 fresh lemons — you should have about 4 tbsp. Strain out any seeds.
Layer the pickle: In a clean dry glass bowl, layer the ginger slices loosely. Sprinkle the green chilli rings between the layers.
Add salt and turmeric: Sprinkle 1 tsp salt and a pinch (1/8 tsp) of turmeric over the layered ginger. The salt draws moisture out of the ginger and starts the pickling process.
Add lemon juice: Pour the strained lemon juice all over the layered ginger. The juice should partially cover the slices — not completely submerge them. They will release more liquid as they sit.
Gently toss: Use a clean spoon to gently toss the slices so every piece is coated with the lemon-salt-turmeric mixture. Try not to break the slices.
First rest: Cover the bowl with a clean cloth. Leave at room temperature for 30 minutes. During this time the slices soften, change colour from cream to pale pink, and develop a balanced sour-salty-spicy flavour. This colour change is a beautiful indication that the pickle is ready.
Taste check: After 30 minutes, taste one slice. It should be tender (no longer raw-feeling), sour, salty and gently hot. If still too sharp, give it another 15 minutes.
Optional embellishments: At this stage, traditional cooks sometimes add a few drops of mustard oil for pungency, a pinch of crushed black pepper, or 1/4 tsp roasted cumin powder for warmth.
Transfer to jar: Spoon the pickle and all its juices into a clean dry glass jar. Press down so the slices are covered by their own brine.
Store: Seal and refrigerate. The pickle is at its best after 24 hours. Will keep refrigerated for 1 week — though it rarely lasts that long in an Arunachali home.
Serve: Place a small spoonful on the side of any meal. It is wonderful alongside rice, dal, meat curries and especially fatty dishes like smoked pork — the ginger cuts through richness and aids digestion. Many people also chew a couple of slices after a heavy meal to settle the stomach.
⭐ Featured
Mumbai's beloved mashed vegetable curry served on butter-toasted soft buns — street food gold.
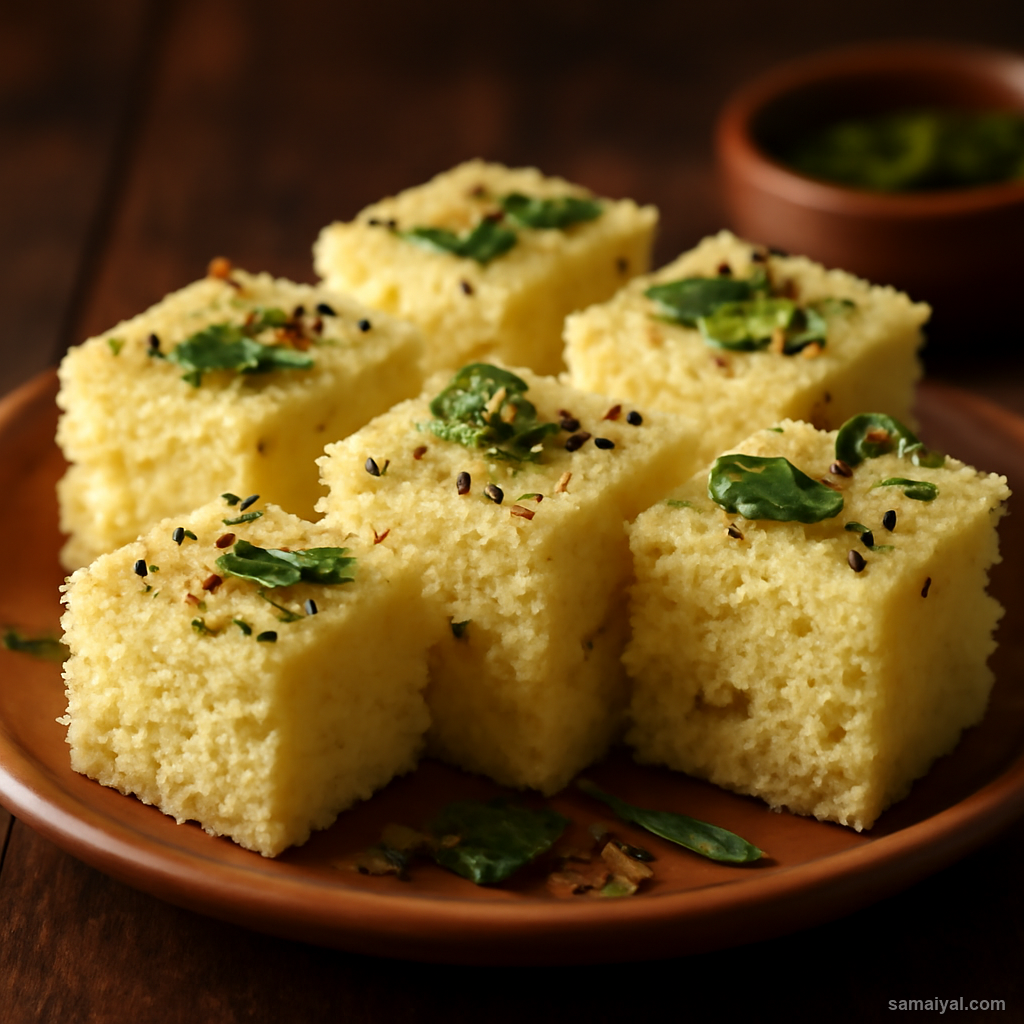
Fluffy steamed chickpea flour cake from Gujarat — light, spongy, tangy and totally addictive.
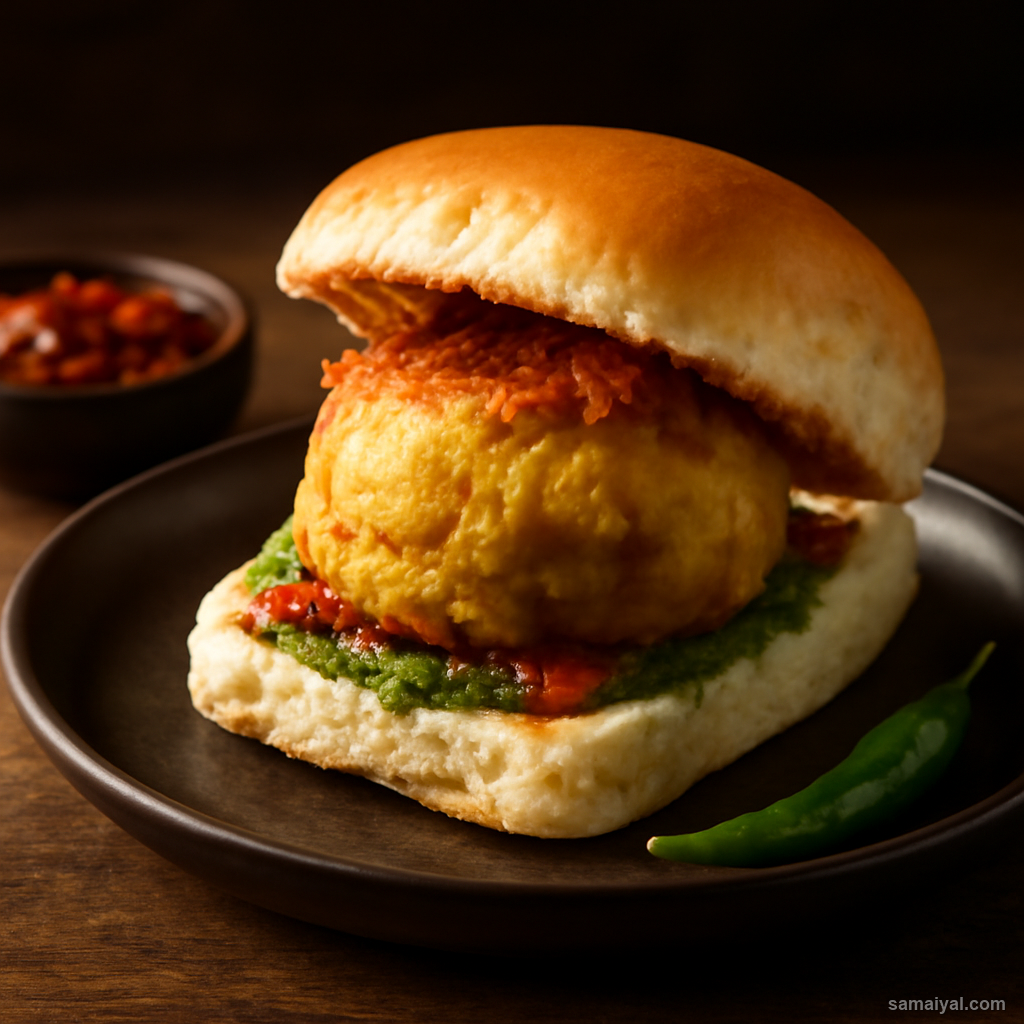
Mumbai's vegetarian burger — spiced potato dumpling in a fried batter, served in a...
 ⭐ Featured
Crispy golden pastry filled with spiced potatoes and peas — India's most loved snack,...
Comments & Tips
Be the first to share your experience with this recipe!
Leave a Comment